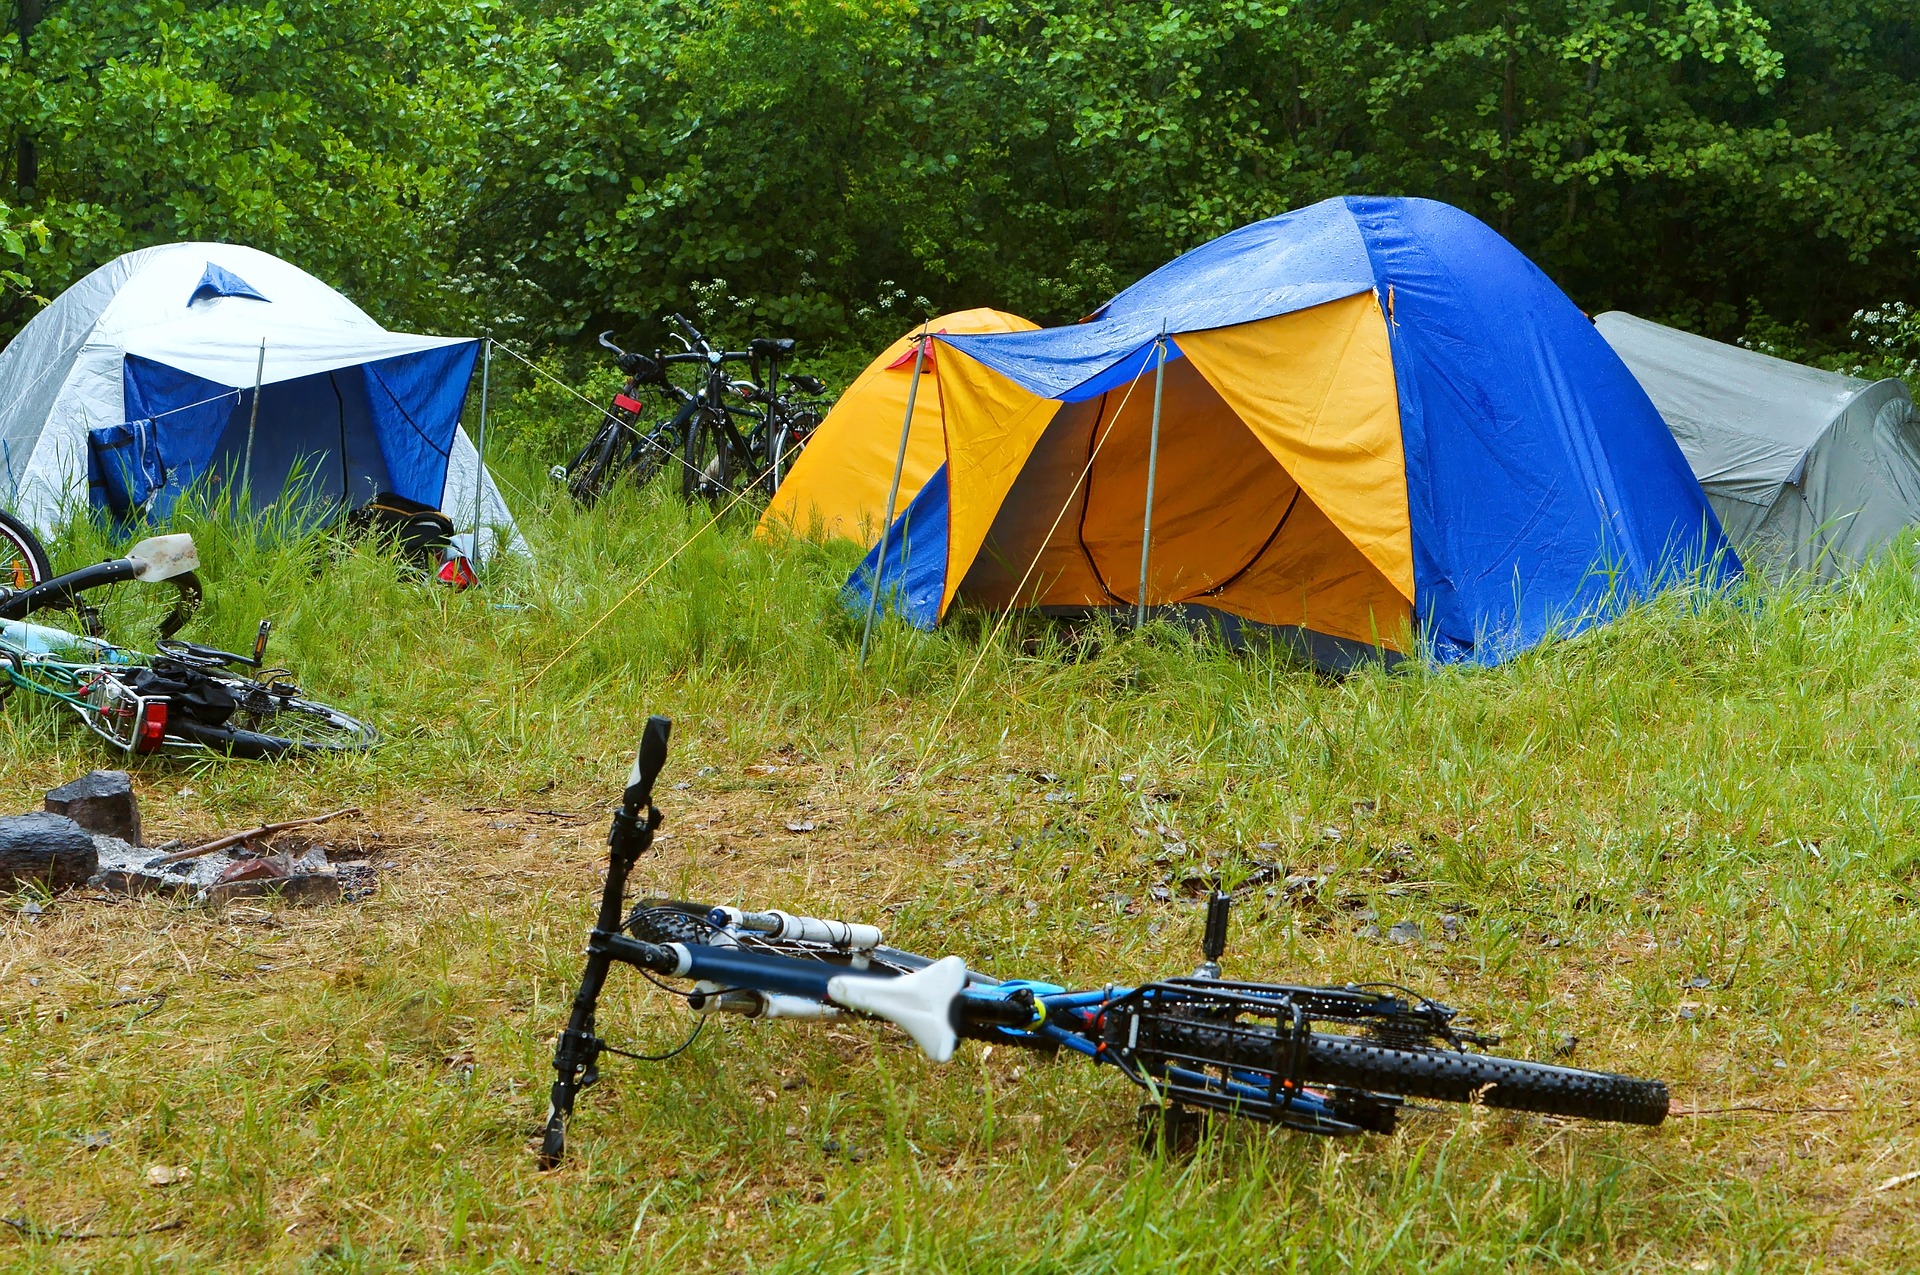
A multi-day bikepacking trip is not the place to discover that your chain is stretched, your brake pads are worn, or your tire has a slow leak. Every mechanical issue that is annoying on a day ride becomes a serious problem when you are 40 miles from the nearest town with a loaded bike.
The time to find and fix problems is at home in your garage, not on a remote trail at dusk. Here is a thorough pre-trip checklist that covers everything from the drivetrain to the contact points.
Do this a week before your trip so you have time to order parts if something needs replacing.
Drivetrain Inspection
Start with the chain. A chain wear tool is the fastest way to check. If the tool drops in at the 0.75% mark, the chain is due for replacement. Riding a stretched chain wears your cassette and chainring faster, which turns a $30 chain replacement into a $150 drivetrain overhaul.
Replace the chain before your trip if it is anywhere close to the wear limit.
Check the cassette teeth for shark-finning, which is when the teeth become pointed and asymmetric from wear. A worn cassette will skip under load even with a new chain. If the teeth look hooked or uneven, replace the cassette along with the chain.
Inspect the chainring for similar wear. Mountain bike chainrings with narrow-wide tooth profiles last longer than road chainrings, but they still wear out.
A chainring that drops the chain on rough terrain is a problem you want to solve at home.
Clean and lubricate the chain after inspection. Use a degreaser to remove old grime, let it dry, and apply fresh lube appropriate for the conditions you expect. Wet lube for rain and mud, dry lube for dust and dry trails. A clean, well-lubed chain shifts better, lasts longer, and runs quieter.
Brakes
Check brake pad thickness.
Most disc brake pads have a metal backing plate with about 2mm of friction material on each side when new. If the material is worn to 1mm or less, replace the pads before your trip. Carrying spare pads is smart, but starting with fresh ones means you are less likely to need them.
For hydraulic disc brakes, check the lever feel. If the lever pulls close to the bar before the brakes engage, you may need to bleed the system to remove air from the lines. A spongy lever on a steep, loaded descent is a genuinely dangerous situation. Bleeding brakes takes about 30 minutes per brake and requires the correct fluid for your system. Use DOT fluid or mineral oil as specified by the brake manufacturer, and never mix the two.
Inspect brake rotors for warping by spinning each wheel and watching the gap between the rotor and the caliper.
A warped rotor causes pulsing and reduced stopping power. Minor warps can be straightened with a rotor truing tool. Severe warps require a new rotor.
For rim brakes, check pad alignment and wear. The pad should contact the rim surface squarely without touching the tire. Worn pads with no remaining wear indicator grooves need replacement.
Tires and Wheels
Inspect your tires closely.
Look for cuts, embedded debris, and worn tread. A tire that is down to the casing on the center tread is a flat waiting to happen. Side wall cuts weaken the tire structure and can blow out under load, especially on loaded descents.
If you run tubeless, check the sealant level. Sealant dries out over time, and a tire with dried sealant offers no puncture protection. Remove the valve core and pour in fresh sealant if the existing sealant has turned to paste or dried completely.
Top off if the level is low.
Check tire pressure. For bikepacking, run pressures on the lower end of the tire's range for better traction and comfort. But not so low that you risk pinch flats on rocky terrain. A general starting point is 25 to 30 psi for 2-inch or wider tires, adjusted based on your weight, load, and terrain.
Check wheel trueness by spinning each wheel and watching for side-to-side wobble.
A slight wobble is cosmetic, but a noticeable one can cause brake rub and handling issues. True the wheel with a spoke wrench or have a shop do it. Check spoke tension by squeezing pairs of spokes. Loose spokes lead to broken spokes, usually at the worst possible time.
Bearings and Pivots
Grab each wheel at the top and try to rock it side to side. Any play indicates loose or worn hub bearings. Adjust or replace them before your trip. Headset bearings get the same test: apply the front brake and rock the bike forward and back. A clunk or play in the headset means it needs adjustment or new bearings.
Check the bottom bracket by wiggling the cranks side to side. Any play here means the bottom bracket is worn or loose.
A clicking or creaking sound while pedaling under load is another sign. Replacing a bottom bracket at home takes 20 minutes. Dealing with one that fails on a trail takes much longer and may not be possible without the right tools.
If your bike has a suspension fork, check for smooth operation by compressing it and releasing. It should move freely without stiction or grinding. Check the stanchions for scratches or pitting that could damage the seals.
Wipe the stanchions with a clean cloth and apply a drop of suspension oil to the seals.
Fit and Contact Points
Check your saddle for wear, damage, and correct position. A saddle that shifts mid-ride because the clamp is not tight causes discomfort and distraction. Tighten the seat post clamp and saddle rail bolts to the specified torque.
Inspect handlebar tape or grips. Torn tape and worn grips reduce comfort and control over long days.
Fresh bar tape costs $20 and takes 15 minutes to install. New grips are even easier.
Check pedal condition. Worn pins on flat pedals reduce grip. Worn cleats on clipless pedals cause unplanned release. Replace pins or cleats as needed.
Verify that your bike fit still works with loaded bags. Adding weight to the handlebars changes the steering feel. A heavy seat bag can affect saddle position.
Take a loaded test ride before your trip to confirm everything feels right.
Accessories and Electronics
Test all lights and charge all batteries. A headlight that works intermittently at home will fail completely on the trail. Carry spare batteries or a power bank that can charge your lights, phone, and GPS.
Check your bike computer or GPS mount for security. A device that vibrates loose and bounces off on a rough descent is gone. Secure mounts with a safety tether if the terrain is rough.
Test your pump or CO2 inflator. Inflate a tire to full pressure to confirm the pump works and the valve connection is solid. A pump that does not seat properly on the valve is useless when you need it.
Spare Parts Checklist
Pack these spares based on your trip length and remoteness: spare tube (one minimum, two for longer trips), patch kit, tire boot, spare chain links and quick link, spare brake pads, spare derailleur hanger, spare spokes in the correct length, small bottle of chain lube, zip ties, electrical tape, and a rag.
For longer trips, add a spare shift cable and a spare brake cable. These weigh almost nothing and can save your trip if a cable frays or snaps.
Final Thoughts
The goal of pre-trip maintenance is not just preventing breakdowns. It is giving yourself confidence that your bike will perform reliably when you are far from help. Every bolt you check, every component you inspect, and every worn part you replace is one less thing to worry about on the trail. Spend a couple of hours in the garage before your trip, and you will spend your riding hours focused on the scenery instead of listening for worrying noises from your drivetrain.